Have you ever wondered what powers your home and keeps it running smoothly? While we may not see the wires and circuits hidden behind the drywall, understanding the fundamentals of electrical design is crucial for any construction or renovation project. If you’re ready to learn more about optimizing your home’s electrical system, book a free consultation with us, and we can break it down for you!
From lighting options to outlet placements, let’s explore the essential components of electrical design that every homeowner should understand.
ELECTRICAL:
Electrical is slightly more “pedestrian” and straightforward than plumbing, but some details would be helpful.
The labor is the most important and expensive part of the electrical plan. So, think about the electrical plan first and design it to get exactly what you want. The fixtures can come much later and always be swapped in the future.
Typically, when roughing in, the electricians pull wire or “whips” and make sure that it is close to where you want it located for decorative lighting. Recessed lighting is also installed during the rough-in phase. If there are specific fixtures you want to highlight, purchase them early and have them on the job site so that the electrician can see what height to hang the fixtures.

Types of Lighting
- Recessed: The electrician typically supplies these. They come in 2” up, so consult your electrician on quantity. I highly recommend dimmable!
- Overhead: A nice overhead light is the least expensive way to light up a room. Here are some overhead lighting from Article and Shades of Light we’ve used in previous clients’ homes.
- Chandelier: This can be as fancy, loud, blingy, or subtle as you choose. This should be treated like thoughtful jewelry. If you have a chandelier and pendant lights in the same space, ensure the design and finish work well together. Typically, the scale will be larger than the pendants.
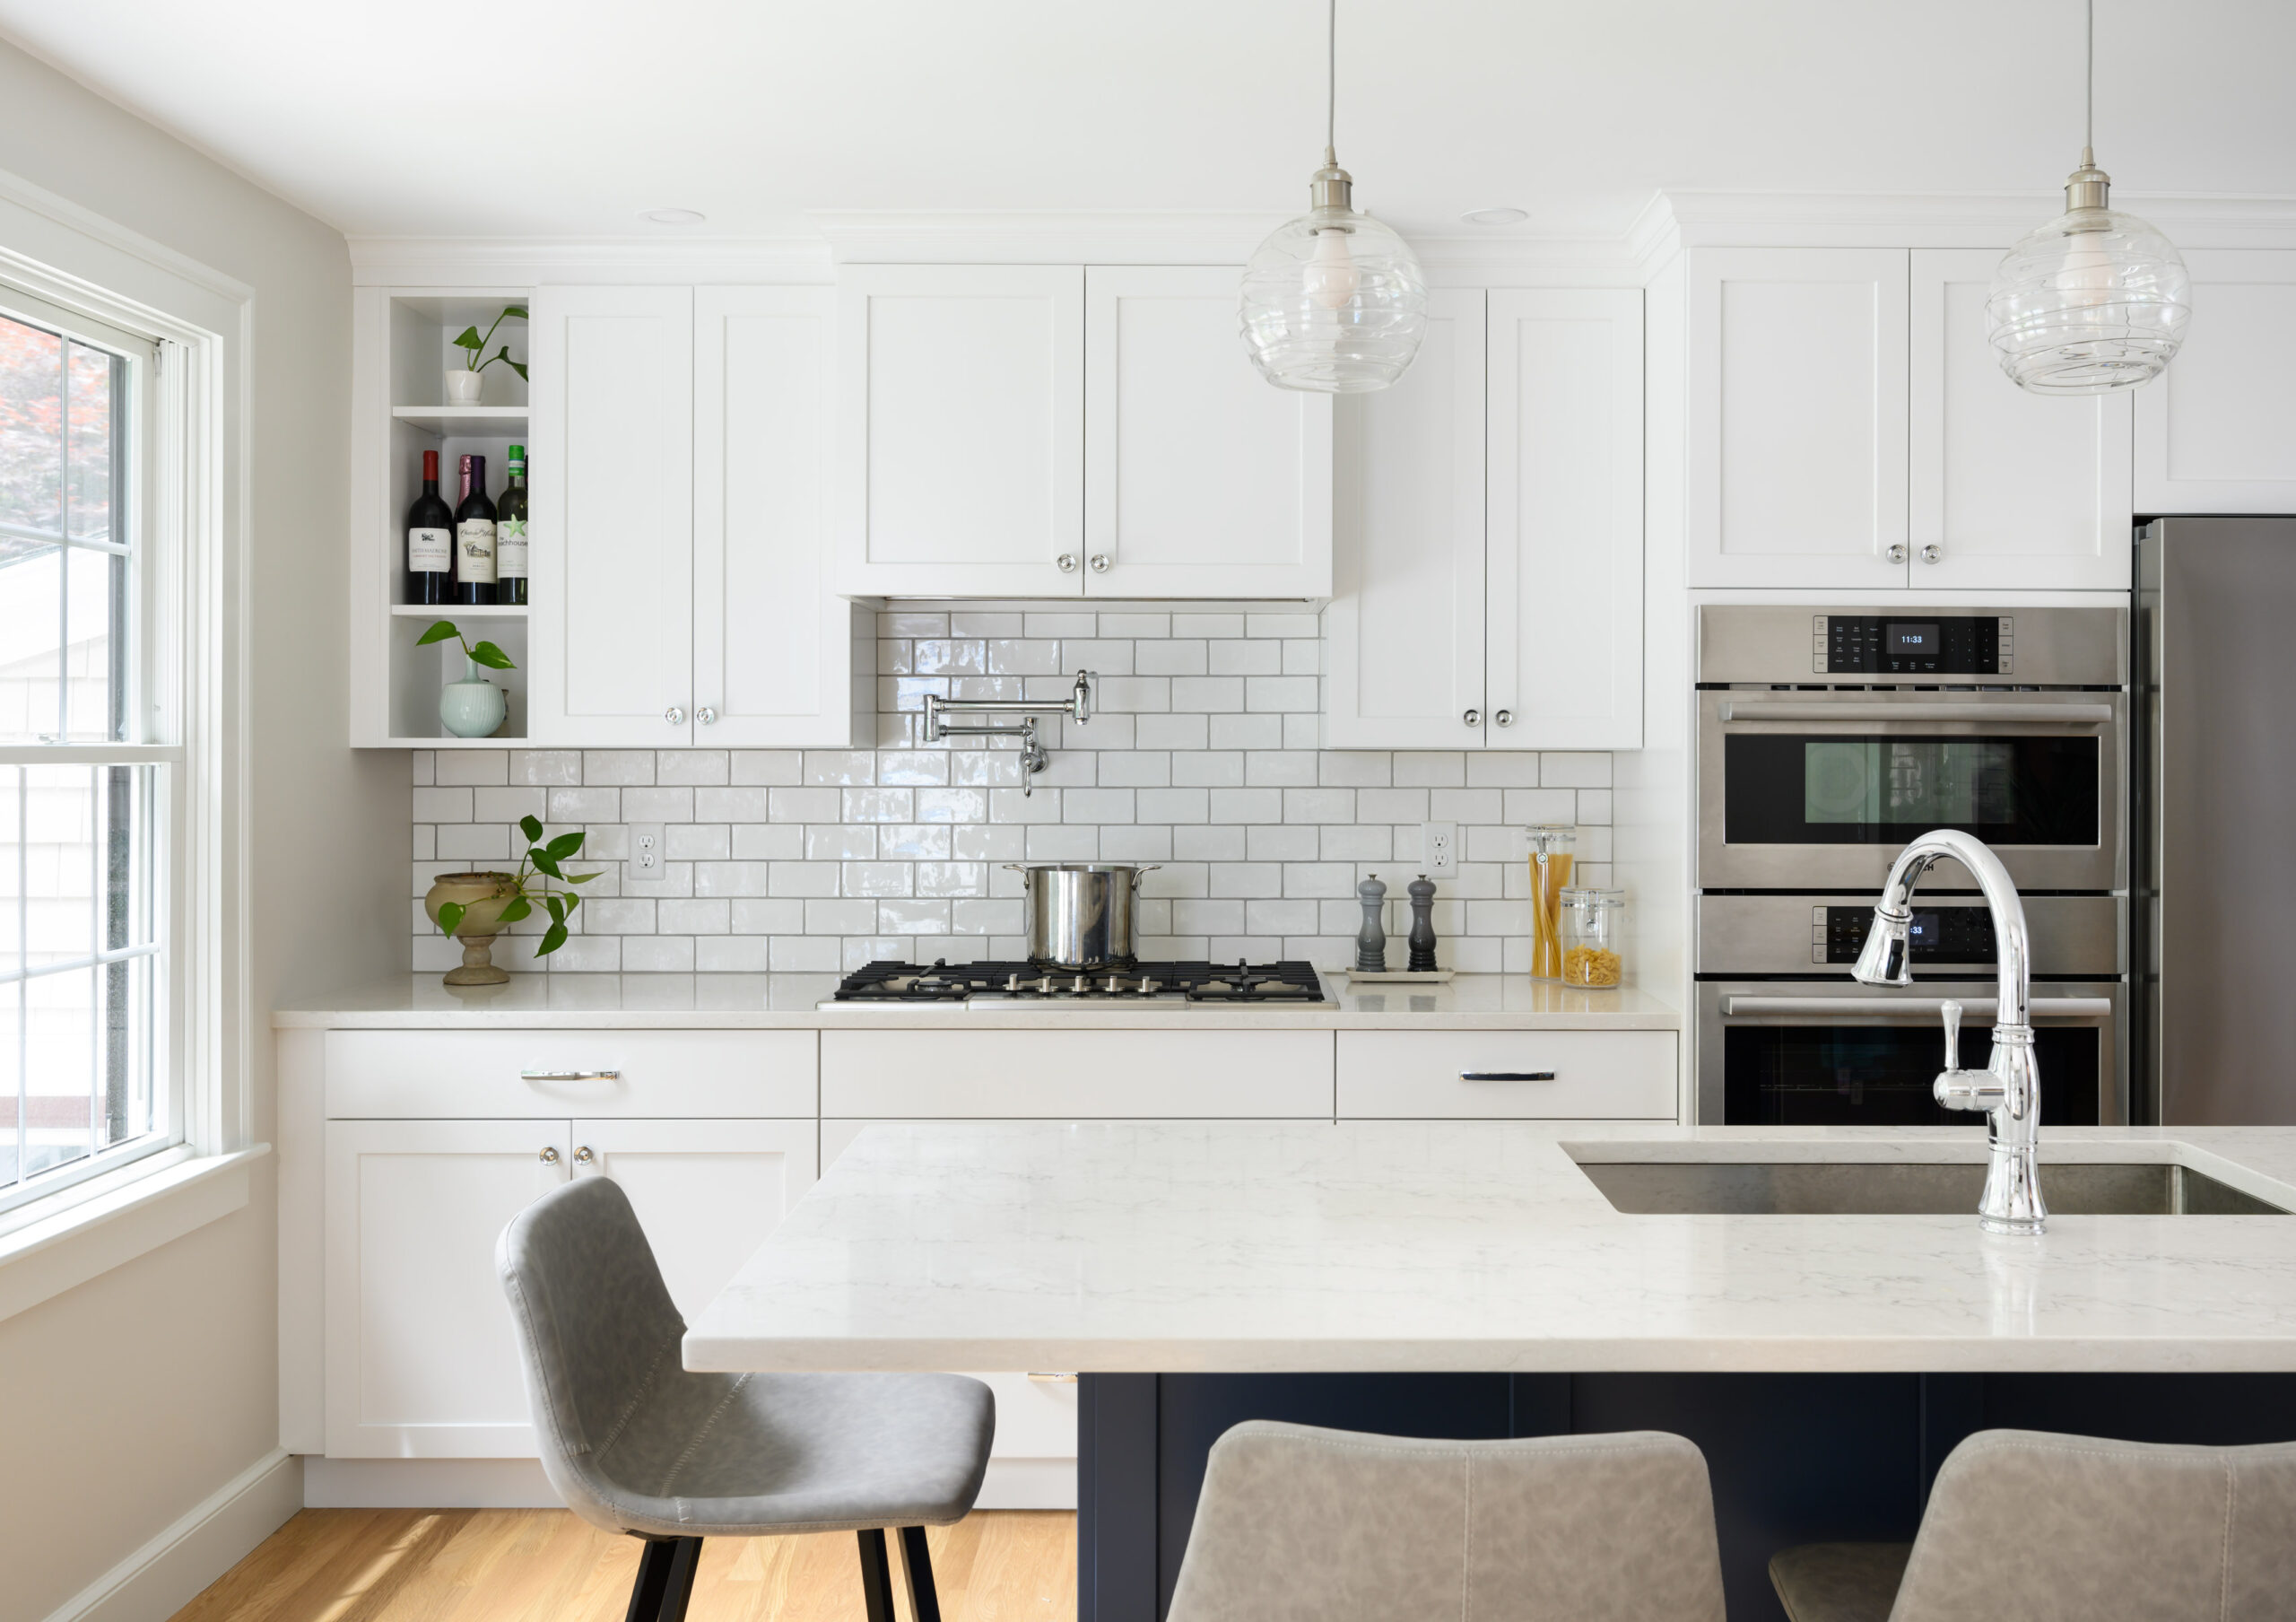
- Pendant: These fixtures can be really fun and functional. You can think creatively about how to use them, such as in the bathroom and bedrooms. Pendant lighting over the island can function as both accent and task lighting. Think about how much you want to see the fixtures or if you want them to blend into the background.
- Flush: This can either be subtle and blend into the ceiling or used as an accent piece.
- Semi-Flush: These fixtures drop down from the ceiling to a specific dimension of the fixture itself. The advantage of semi-flush is that it opens up the space between the ceiling and the fixture, which is a nice look.

- Under-Cabinet: This is handy when seeing what is on the countertop below.
- Heated Floor Mat: This is a cost-effective way of getting heated floors in your bathrooms, kitchen, and mudroom. It is controlled inside the space to gather temperature information–and there is nothing as great as a heated bathroom floor in the middle of a cold winter night!
- Sconces: It is best to select your sconces early in the project so that the electrician knows what height to wire them. After you select the materials, the electrician will pull a whip (or a string of wire) through the wall at the rough electrical level, but it is a good idea to get close. Here are some sconces from Rejuvenation, deVol, and Schoolhouse that we’ve used in previous designs.
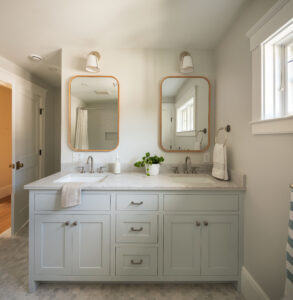
- Side of Mirror: Sconces on the side of the mirror give you the best light and give it a beautiful look, but you need to have enough space on the sides to make it look right. A typical box for a sconce is 4”, so you need at least 6” on each side of the mirror.
- Above Mirror: This is the most cost-efficient choice because you only buy one fixture. Depending on the size of the mirror, you will want at least two globes. We always feel that four globes are too many.
- Next to Bed: This installation can be tricky if the bedroom is empty–which it usually is. Make sure you have your headboard, mattress, and nightstand selected with the heights and widths of each one. Then, calculate your selected fixture so that it can land precisely where you want it.
- Interior: Accent sconces on walls such as staircases and hallways–think of these fixtures similar to the side of mirror fixtures and select them as early as possible. Again, the electricians will pull whips for these, but knowing the height beforehand is really helpful.
- Exterior: The electricians will BOX these out before siding the exterior so they will need these fixtures early in the project. This is important because they cannot go back and install the exterior fixtures later.
- Ceiling Fans: Depending on the ceiling, ceiling fans can be very helpful in circulating heat in a room. We generally don’t suggest fans with built-in lighting, but sometimes you can’t help but buy one–just promise me you won’t turn it on. Typically, recessed lights go around the ceiling fan and do not overlap the blades–nothing is worse than a strobing light fan!

Scale
- Scale is necessary when selecting a fixture. You might wonder who would have a 30” ht. sconce, but houses are all different scales, so it would be appropriate for a large home with high ceilings. We suggest cutting out a box as a sample or drawing it to scale. We have the advantage of having all of our projects in CAD, so if you want help with a lighting plan and figuring out scale, just let us know.
Finishes
- There are so many different finishes that it’s almost ridiculous to mention them all. Each company has its own version of each finish. Like plumbing, chrome is the only true consistent finish. Not all black finishes are the same, so be aware of the finish if you are trying to match something else. If you are located near the ocean, you will want to use stainless steel on all exterior fixtures as it’s the only finish that will not rust out in a year.
Switching 101
- Bedside: Install light fixtures next to the bed right above the nightstand. The outlets should also be installed above the nightstand.
- Lighting Plan: Switching is part of a lighting plan. Again, if you need help with your lighting plan, we can certainly assist you. We offer this service because it’s crucial to get it right.
- On-Site: Before the electrician starts roughing in the electrical, scheduling an on-site meeting with them is a good idea. Plan for a few hours and move through the meeting room by room. We draw the switching plan and use this as a guideline for the electrician to estimate and get a sense of the project on paper before the in-person meeting. There are best-laid electrical plans, but it is vital to stay flexible if any changes are needed. There is often a lot of wood right where we want the switches to be. The electricians can cut the studs out if necessary, or you might need to move the switch.
- Code: There is code surrounding switching regarding proximity to water–such as the shower and sink. You cannot be too close to a shower door or sink faucet.

Outlet Options
- Floor: We will always add furniture to our lighting plans to see if the furniture configuration corresponds with the lighting. In large open spaces, you will want floor outlets.
- Under Counter: This is always a big conversation, and it’s our job to guide our clients through the best options for meeting their needs.
- Backsplash: If you have spent a lot of money on your backsplash, such as beautiful granite or tile, we often don’t want to cut into it. You can install the outlets underneath the cabinets with angled or flush strips.
- Island: Per code, the island must have at least one uninterrupted outlet, so be sure to plan this out with your cabinet supplier. When roughing in, they will need to know roughly which side of the island the outlet will be on. You can put outlets under the overhang for devices, but you must have another uninterrupted outlet.
- Bedside Tables: As mentioned above, it is convenient to have the outlet above the nightstand for devices, etc.
- Lighting Plan: We locate only the specific outlets that clients want, and then the rest are installed according to code.
Resources
- If your budget is tight when the electricians are ready to install the light fixtures (one of the last things done on a site), I recommend buying lighting from a box store like Lowe’s or an online store like Shades of Light. You have already spent money to have it wired the right way, so you can easily replace a fixture.
Brands We Love
- Big Ass Fans – We are big fans of the Big Ass Fans Co. since they are quiet and high quality. We’re sure you will not be changing out one of their fans until you get sick of the design–and there is no reason for that since they’re so great.
- MinkaAire – Excellent option for various designs.
- Shades of Light
- Build.com
- Hubbarton Forge
- DeVol
As we have mentioned, we offer the service of preparing your lighting and plumbing plan. If you are interested in this service, consider scheduling a free 15-minute consultation with us to discuss your options, and we will make that happen for you!