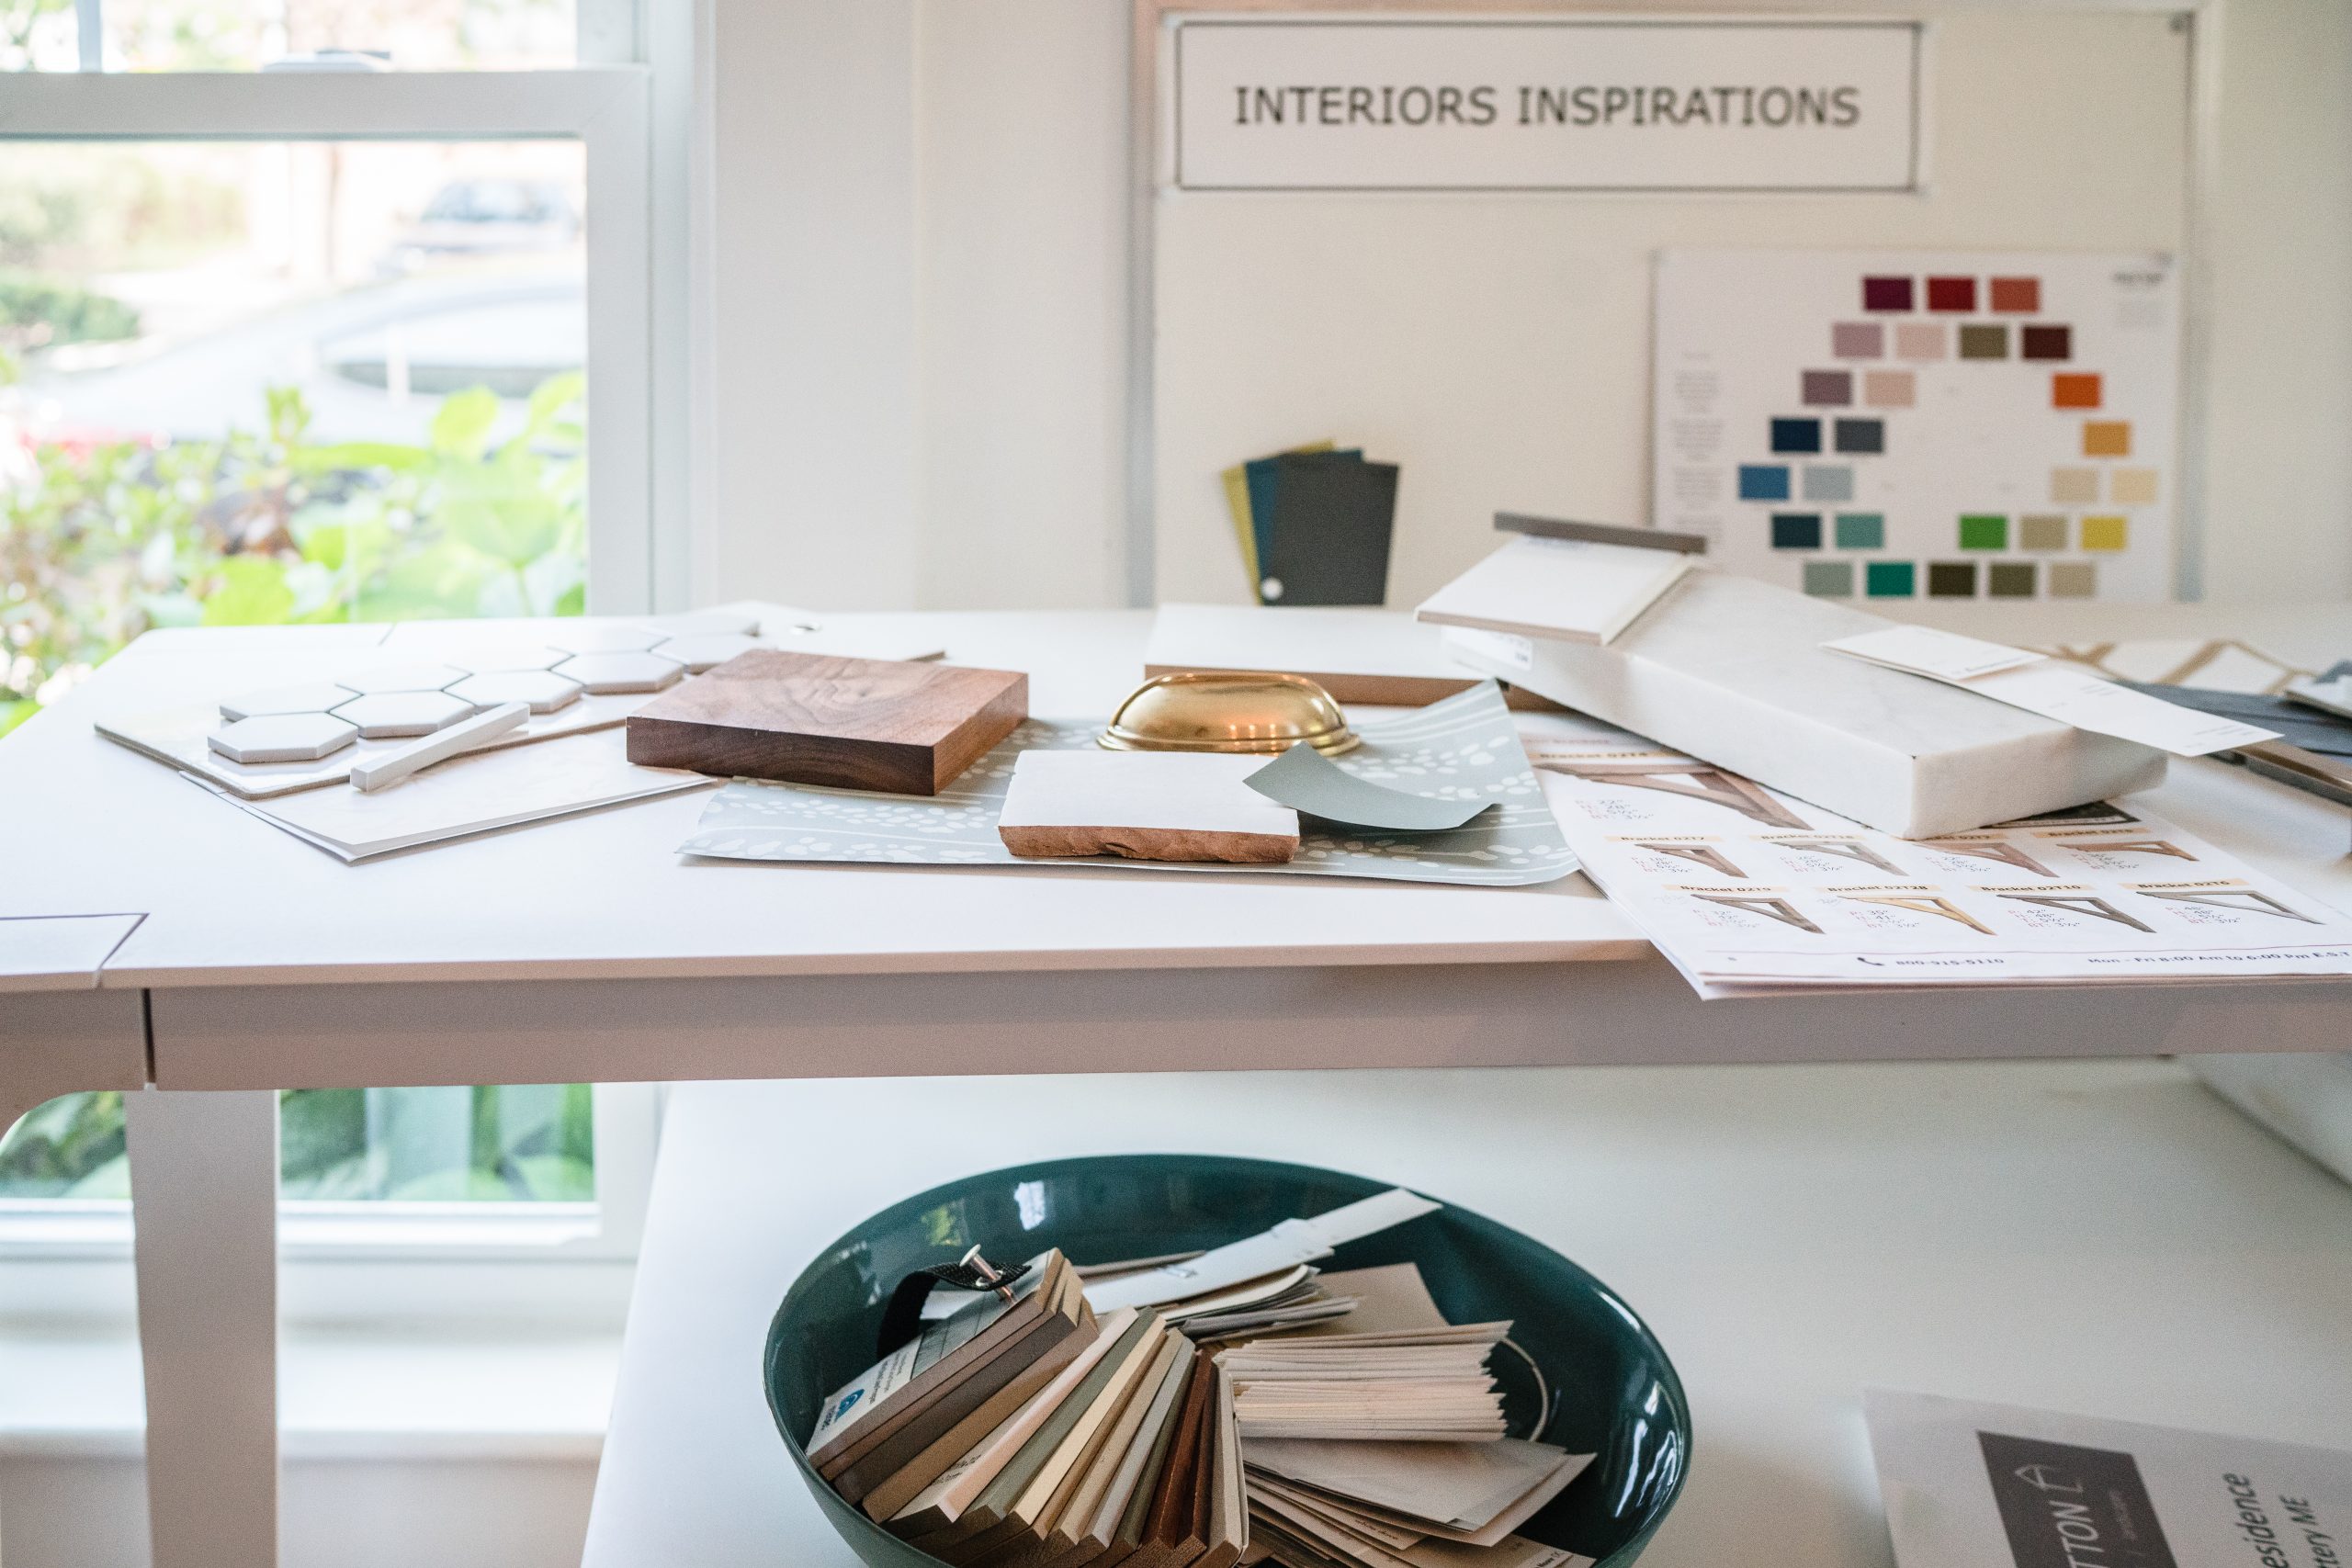
One of my favorite things to do in my job is select materials for projects. It’s fun and inspiring, and materials always bring a project to life! But, if you are working on a renovation or new construction project it might be a bit overwhelming. So here is a sneak peak into the ADH process that might help your process.
Step 1: PLANS
While I’m designing floor plans and elevations, I am also looking at the space in 3D. This allows me to visually spot mistakes and opportunities to do something really cool. This is when I start our Materials List.
Step 2: CREATE A MATERIALS LIST
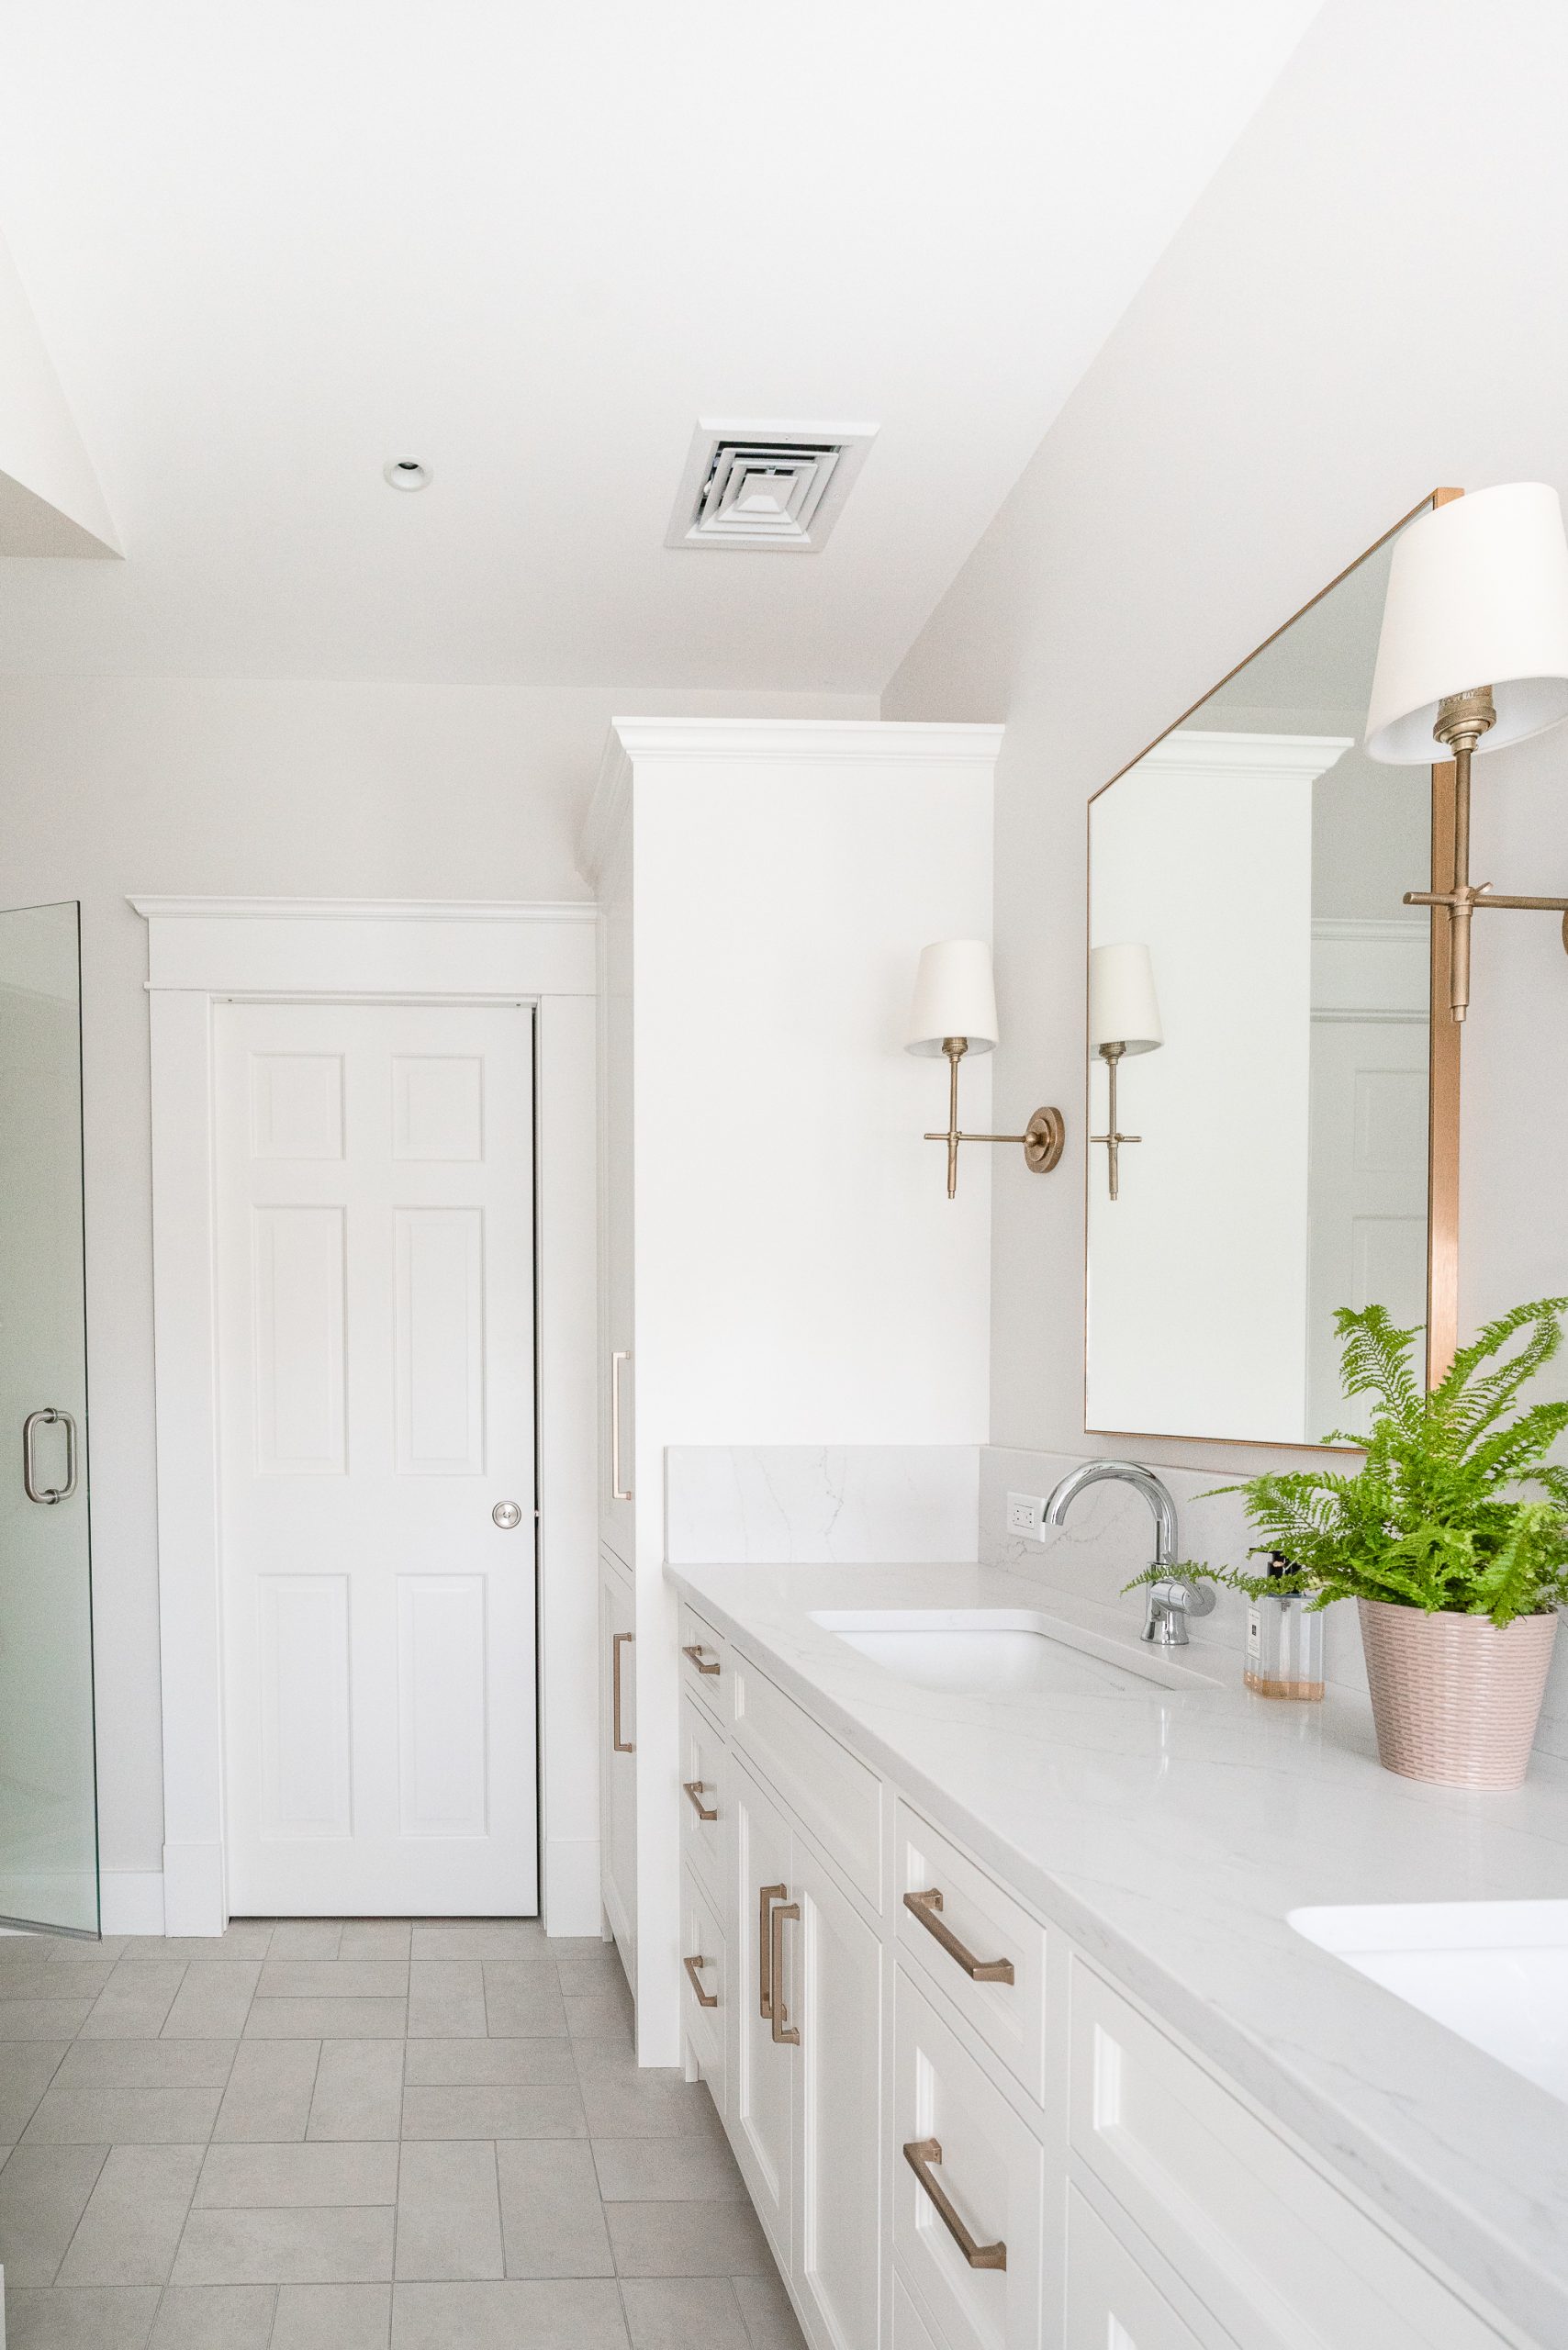
Start in just one small space inside a room and start your list. For example, you can start in the kitchen as a room but specifically “stand” at the kitchen sink and think of the vignette, or how the pieces fit together. Starting from the ceiling you have: light fixture, backsplash tile, sink faucet, countertop, cabinet, floor and rug. I build the materials list from those vignettes in each kitchen and bathroom then move around the room.
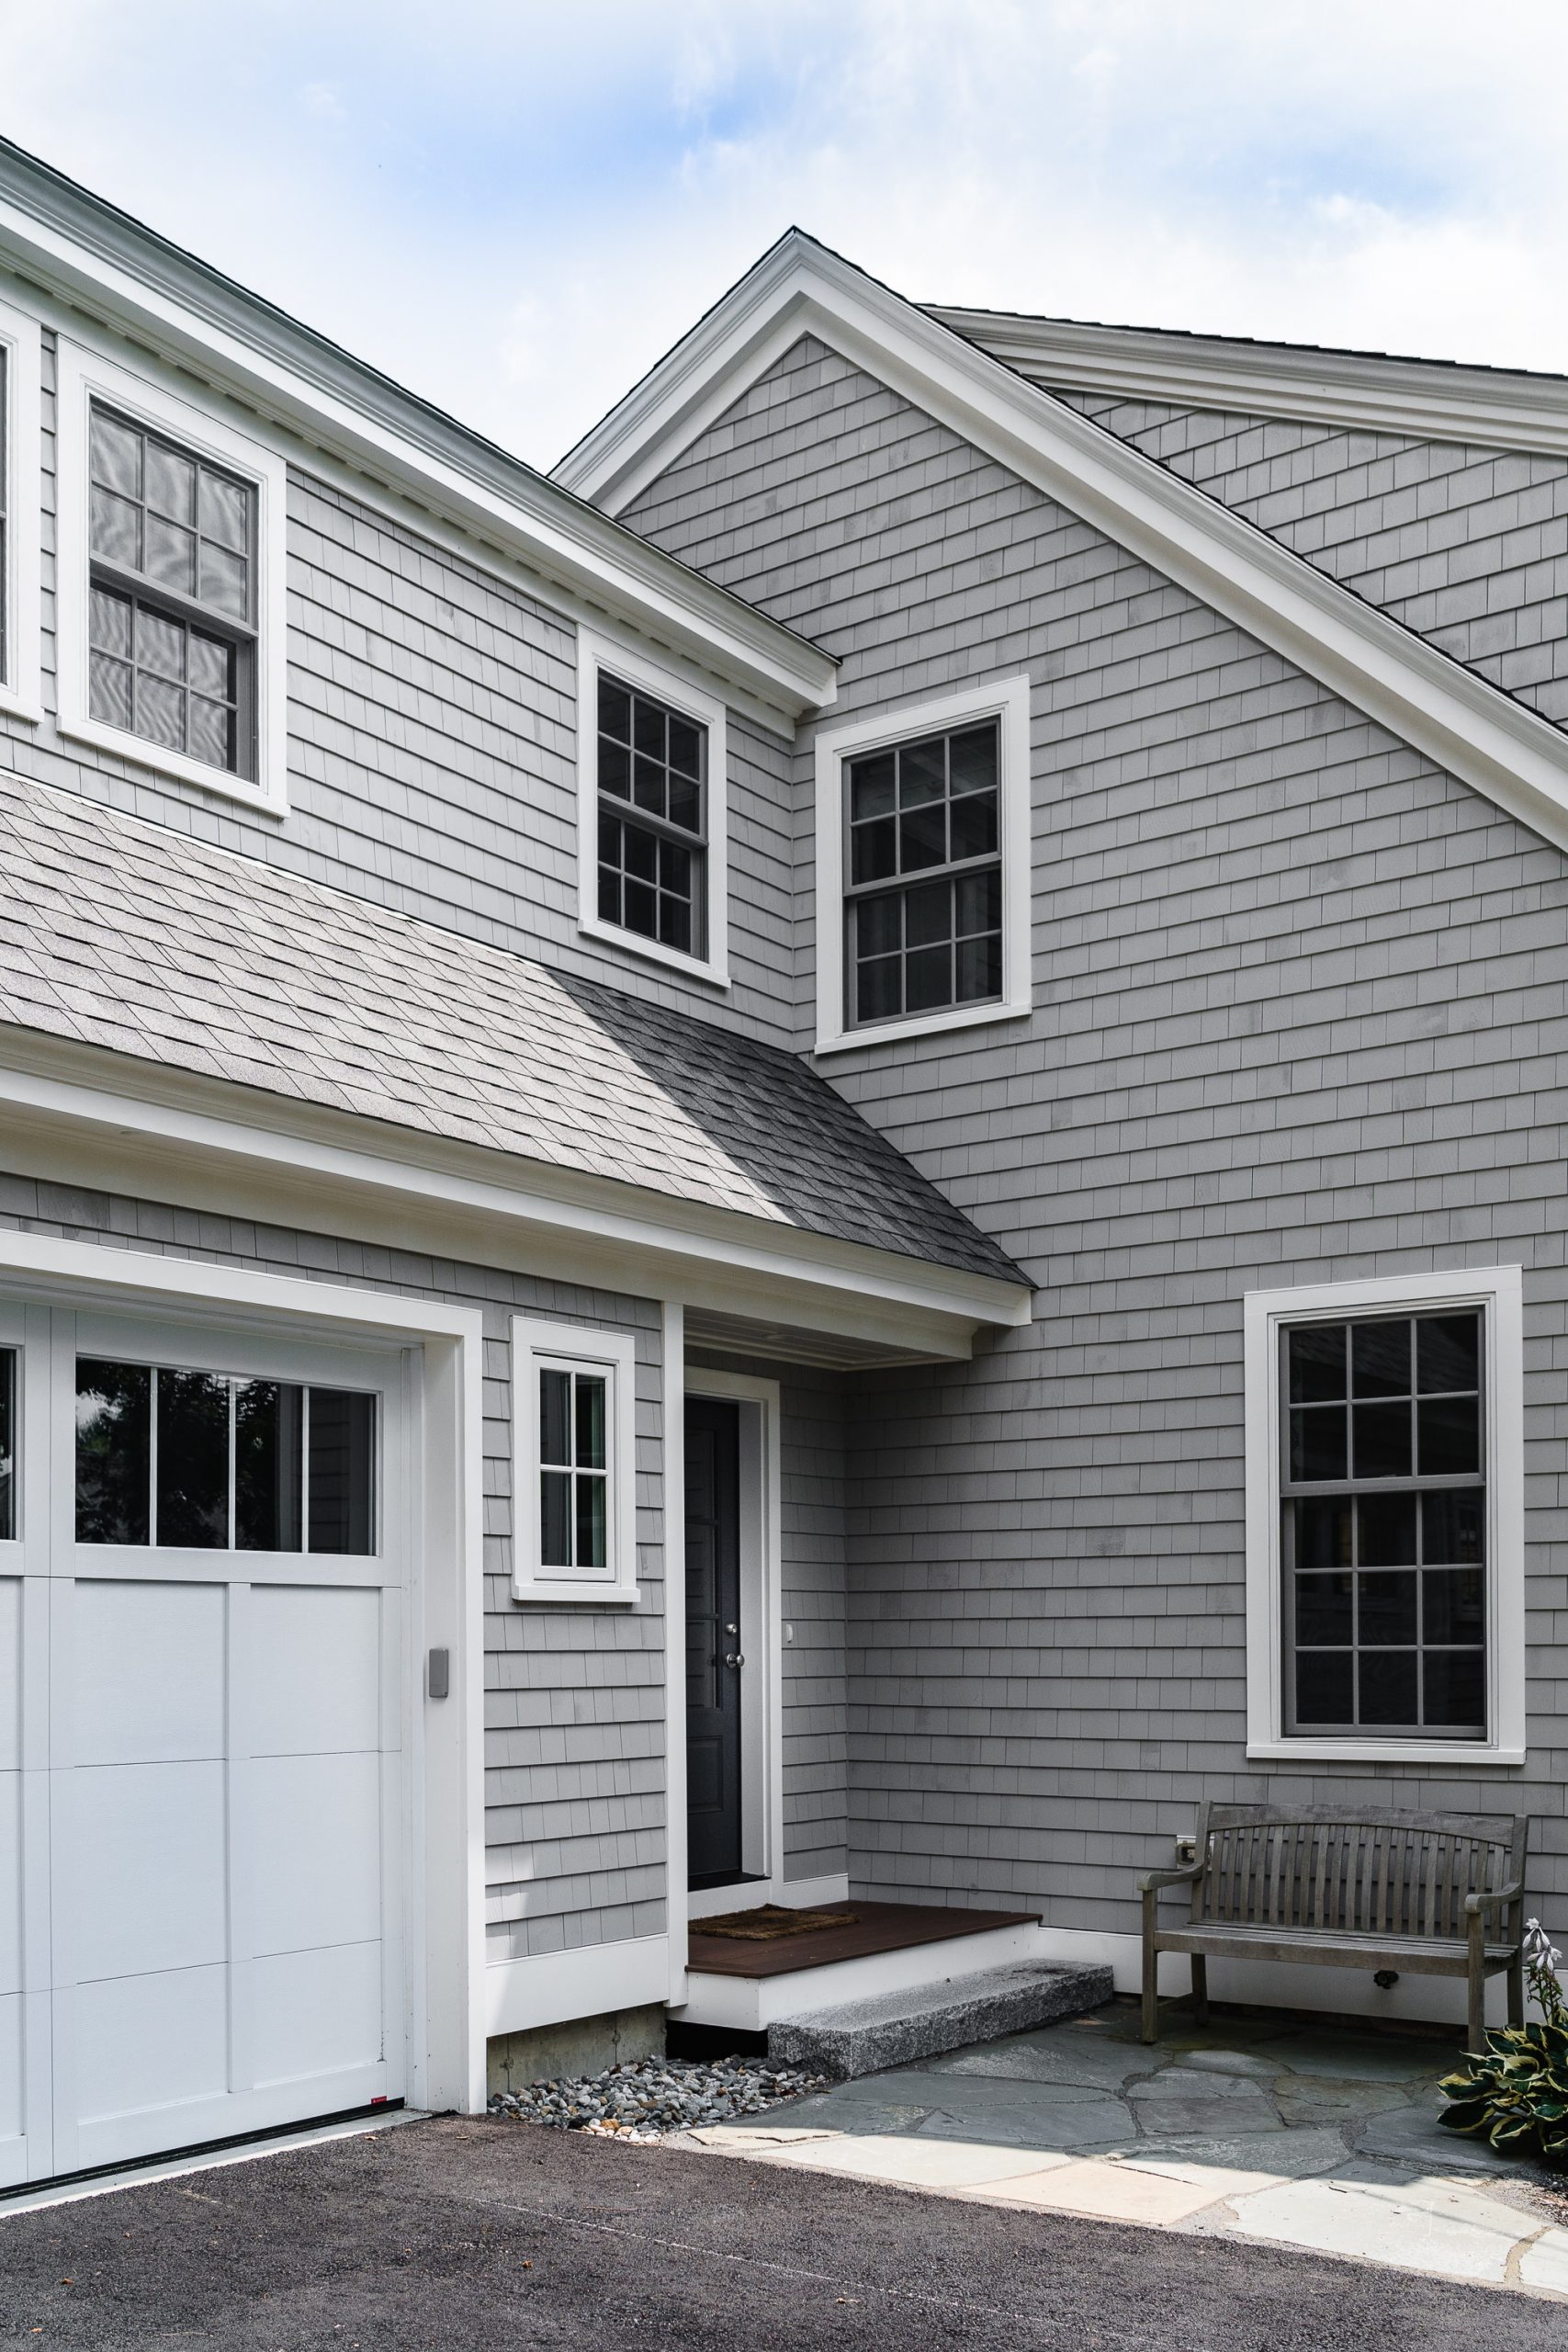
If you are choosing materials for an entire house, start on the outside first because the contractor will be asking you those materials from the very beginning of the project. YOU want to make the decisions because if you don’t, they will. So, start at the front door and move around the house: door, hardware, light fixtures (sconces on the side or above the door or recessed), siding, trim color and trim package, roof, soffit detail, corner boards, drip-edge material, water table and etcetera.
Make a list that not only item the item but also the vendor, description, dimension, specs and image. Make note of what is ordered and what is not. Most contractors will not be ordering your lighting or plumbing for you so that is on you to select and order.
Step 3: PINTEREST
All of my clients have a Pinterest board – one board with several different sub-boards. They name the main board their address then share it with me. When I’m designing, I pour over their Pinterest. This is the fastest way to get into their heads. For the most part, most of the images are similar to each other and I always use the common image and throw out the odd ball here and there. For example, on their “Kitchen” board I look through it quickly to verify what color cabinetry they want. When people are super inconsistent, I make them go back and edit their board down to find consistency. I suggest you do the same.
Pinterest has a great algorithm in that when you pin something, another similar image will come up. You can also pin a photo from your phone and it will do the same thing for you. If you are looking for inspiration, you can go to my Amy Dutton Home “saved” boards. There you will find “ADH” boards which are my own projects as well as other boards that I have created for you as inspiration.
Step 4: CHOOSE MATERIALS
Again, I like to start on the exterior first for efficiency’s sake with the contractors. While some people might say, “I don’t know, I just want a white house with black windows,” you are going to need to make many more decisions than only that. For example, vinyl siding, wood siding, cement siding, engineered siding and what shade of white out of the thousands that are offered will all need to be sorted through.
On the interior, I like to start in the kitchen since it is probably where people spend the most money and time. Again, start at the kitchen sink vignette and let that set the stage. Do you want a tile backsplash or solid stone or none at all? Let your Pinterest help you out here. Go into the tile store with ONE (maybe two) images of what you really like. There is no copying, every home is unique and original, you are simply inspired by that image and it is a valuable too for communicating your design aesthetic.
Lastly, I suggest staying in one room at a time to make sure that everything looks great together then move on to other room. Don’t forget the kitchen, always go back and make sure that you are staying relatively consistent with materials for a cohesive and consistent look and feel in your home.


